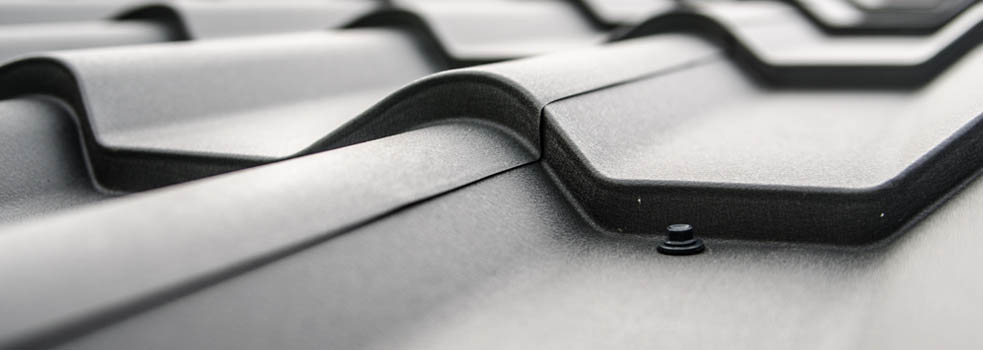
Sheet metal screws, Self drilling, pan head, Stainless steel 410,Possess good corrosion resistance.The screw is a tool that uses the physics and mathematics of the oblique circular rotation of the object and the friction force to gradually tighten the objects and parts. A self-drilling screw is a screw with a self-tapping drill head on the front end of the screw.
The screw is a common invention in people's production and life for thousands of years. According to the field of application, it is the first invention of mankind. The self-drilling screw is a new invention of people in recent years, also called self-drilling screw. Screws are a common term for fasteners, an everyday spoken word.

Screw-in test: Screw the self-tapping screw into a steel plate with a reserved test hole. The self-tapping screw should form a matching thread in the test plate, and the screw thread itself will not be deformed or damaged until the end The taper thread completely passes through the test plate. The screw-in test is only suitable for AB, B, BP and other types of self-tapping screws. The IFI stipulates that the test plate shall be made of semi-hard low-carbon cold-rolled steel, and the hardness of the steel plate shall be 70-85HRB Rockwell. The standard specifications and thickness of the steel plate are shown in the table below. The test hole should be punched or drilled. The allowable error is the specified nominal diameter (see the table below) ±0.025mm. Specification 6#7#8#10#12#1/4 Test plate thickness (mm) 1.85-1.953.12-3.234.68-4.84 Aperture (mm) ±0.0252.953.263.454.044.765.50.
1. Heart hardness: standard value HRC28-38. The test is carried out on a section 1-2 times the nominal diameter from the tail. If the nominal length is too short, it can be embedded first, and then the hardness is measured.
2. Surface hardness: standard MINHV450.
3. Carburized layer: standard 4#-6#: 0.05-0.18mm, 8#-12#: 0.10-0.23mm, 14#: 0.13-0.28mm. The main purpose of carburization is to increase the surface hardness and ensure the strength of the teeth. If the decarburization is too deep and the carburization is insufficient, the strength of the teeth will not meet the requirements, that is, the teeth will be damaged during the screwing test.
4. Torque: standard specification 4#5#6#7#8#10#12#14#A tooth 14212835455696145AB tooth 142128354565102165.
